
If you’re a seafood lover, you’ve likely savored the taste of a delectable oyster. But have you ever thought about shucking an oyster yourself? Learning how to shuck oysters not only allows you to enjoy these delectable delicacies in the comfort of your own home but it also adds an element of adventure and accomplishment. In this comprehensive step-by-step guide, we’ll take you through the process of shucking oysters, from selecting the right tools to perfecting the technique.
Step-by-Step Guide to Shucking Oysters
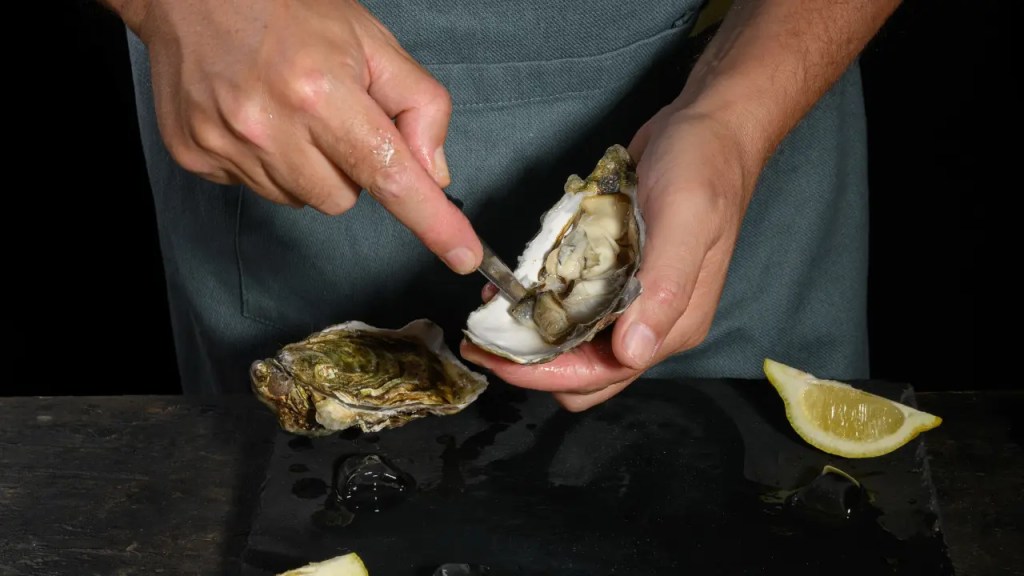
Hold the oyster securely: Position the oyster flat-side up, with the pointed end facing away from you. Grip it firmly with the towel to prevent it from slipping.
Step 1: Gather your tools
You’ll need a few essential tools for shucking oysters. These typically include a sturdy shucking knife and a protective glove or towel to hold the oyster securely.

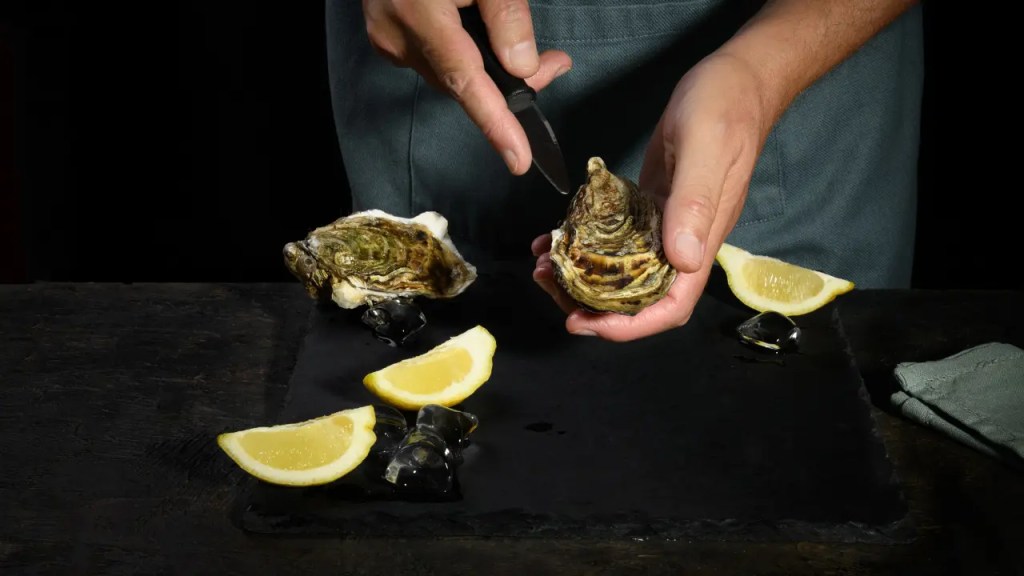
Step 2: Insert the knife
Carefully insert the tip of the shucking knife into the hinge at the pointed end of the oyster. Gently wiggle the knife to locate the right spot. Be cautious not to apply excessive force to avoid injury.
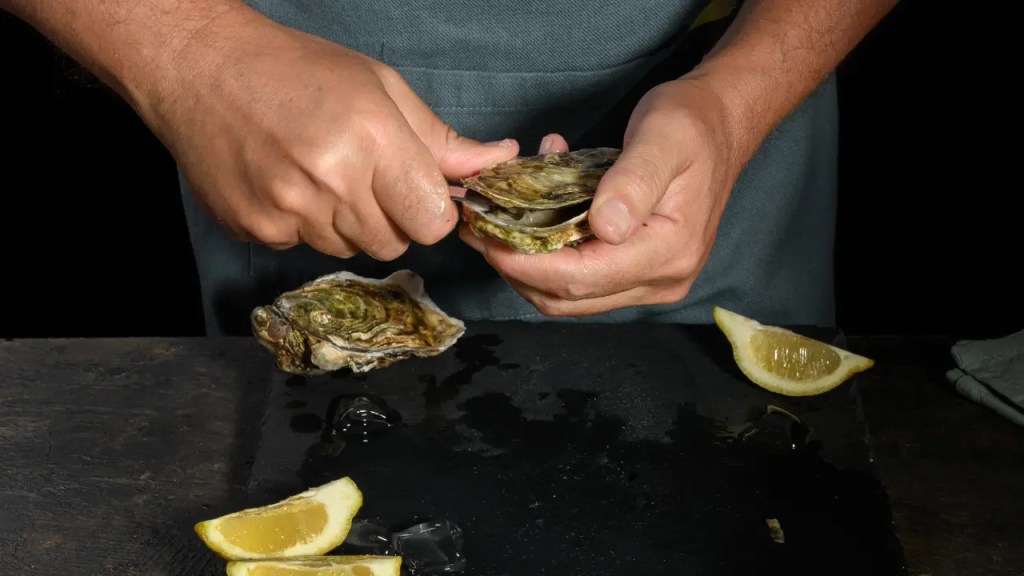
Step 3: Twist and pop the shell
Once the knife is securely inserted, twist it slightly to pry open the shell. Apply gentle pressure until you hear a pop, indicating that the shell has loosened. Take care not to force it open too quickly as it may splatter the oyster’s liquid.
Step 4: Sever the muscle
Slide the knife along the flat top shell, separating it from the oyster meat. Cut through the muscle that connects the shell and the meat, freeing the oyster from its shell. Be cautious and precise to avoid damaging the delicate flesh.

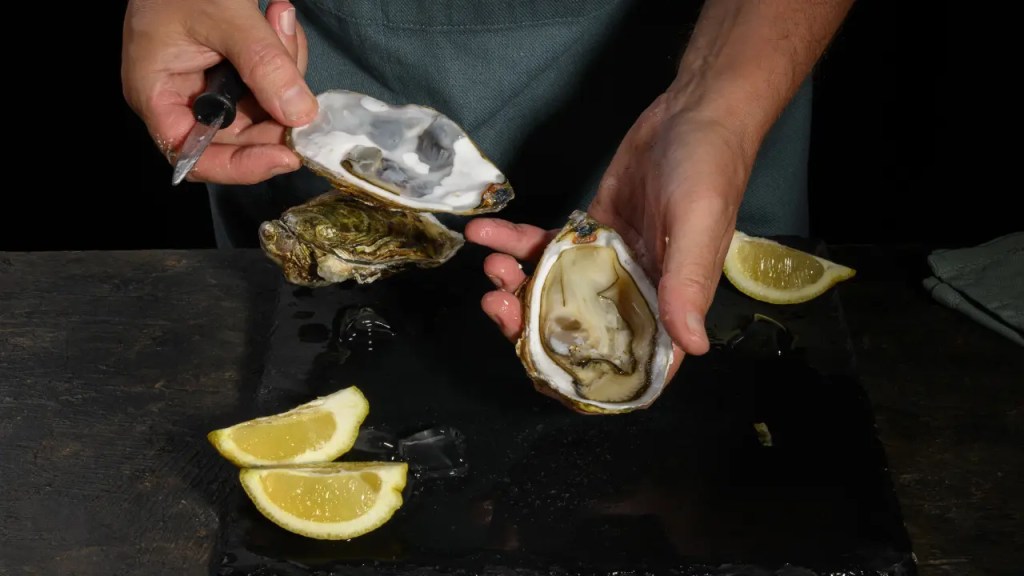
Step 5: Remove the flat shell
With the muscle detached, lift off the flat top shell while keeping the oyster meat intact. Set aside the top shell or discard it, depending on your preference.
Step 6: Repeat on the other side
Flip the oyster and locate the muscle that attaches the oyster to the bottom shell. Slide the knife underneath and cut through the muscle to detach the oyster completely. Remove the second shell, and ensure the oyster is free of any debris or shell fragments.
10 Tips and Techniques for Shucking Oysters
For the more experienced shuckers, here are some advanced techniques to consider:
- Use the Right Knife: Invest in a good-quality oyster shucking knife with a sturdy blade and a pointed tip. A well-designed knife will make the shucking process easier and safer.
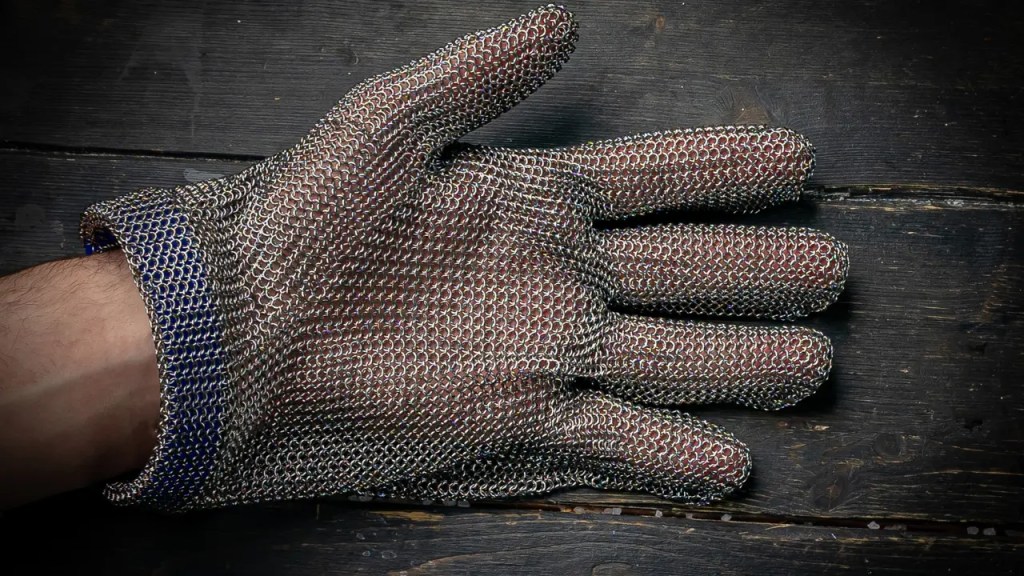
- Protect Your Hands: Always wear a protective glove or wrap the oyster in a towel to shield your hand from any slips or cuts while shucking. Safety should be your top priority.
- Find the Hinge: Locating the hinge of the oyster is key to successful shucking. It’s where the shells meet and is usually located at the pointed end of the oyster. Insert your knife here to begin opening the shell.
- Use Gentle Pressure: When inserting the knife into the hinge, use gentle pressure and wiggle the knife back and forth rather than applying excessive force. This will help avoid damaging the oyster meat or injuring yourself.
- Pop the Hinge Carefully: Once you’ve inserted the knife into the hinge, apply a bit more pressure to pop it open. Be prepared for a slight resistance followed by a pop as the shells separate. Take your time and work the knife around the edge of the shell.
- Keep the Knife Close to the Top Shell: As you work the knife around the edge of the shell, keep it as close to the top shell as possible to avoid damaging the oyster meat. This will ensure that the oyster remains intact and presentable.
- Detach the Top Shell Smoothly: After popping the hinge, carefully slide the knife along the top shell to detach it completely from the bottom shell. Take care not to spill any of the flavorful liquor inside the shell.
- Loosen the Oyster from the Bottom Shell: Once the top shell is removed, use the knife to gently loosen the oyster from the bottom shell. Be gentle to avoid tearing the delicate oyster meat.
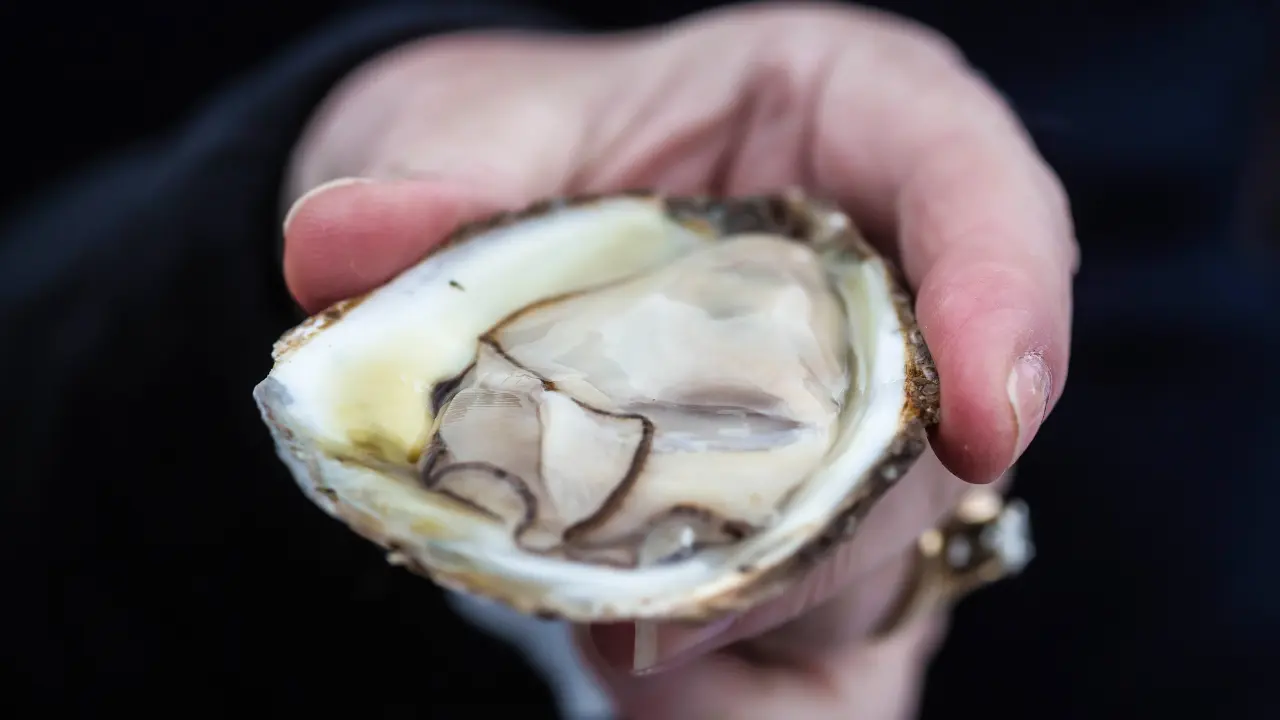
- Inspect for Debris: Before serving, inspect the shucked oyster for any shell fragments or debris. Remove any unwanted particles to ensure a clean presentation and enjoyable dining experience.
- Practice Makes Perfect: Shucking oysters is a skill that improves with practice. Don’t be discouraged if you don’t get it right the first time. Keep practicing, and soon you’ll be shucking oysters like a pro!
Common Challenges and Troubleshooting
Shucking oysters can come with its fair share of challenges. If you encounter any obstacles, here are a few troubleshooting tips:
Difficulty Locating the Hinge
Challenge: Some oysters may have hard-to-find or tightly sealed hinges, making it challenging to insert the shucking knife.
Troubleshooting: Use a towel or glove to grip the oyster firmly and try gently tapping the shell on a hard surface to loosen it. Additionally, rotate the oyster to find the optimal angle for accessing the hinge.
Breaking the Shell
Challenge: Applying too much force or using the wrong technique can result in the shell breaking, leading to potential injury and a compromised oyster.
Troubleshooting: Practice applying controlled pressure when inserting the knife and avoid twisting too forcefully. If the shell cracks, proceed with caution to avoid injury, and carefully remove any shell fragments before serving.
Oyster Liquor Spillage
Challenge: Opening the oyster too quickly or forcefully can cause the flavorful liquor inside to spill out, diminishing the overall dining experience.
Troubleshooting: Take your time when prying open the shell, applying gradual pressure until you hear a subtle pop. Tilting the oyster slightly downward can help minimize spillage while maintaining control.
Damaging the Oyster Meat
Challenge: Inexperienced shuckers may inadvertently damage the delicate oyster meat while separating it from the shell.
Troubleshooting: Use precise, deliberate movements when sliding the knife along the shell to avoid piercing or tearing the meat. Take care to sever the muscle cleanly to preserve the oyster’s texture and appearance.
Dealing with Stubborn Oysters
Challenge: Some oysters may be particularly difficult to open due to their size, shape, or shell thickness.
Troubleshooting: Experiment with different angles and techniques to find the best approach for each oyster. Applying gentle heat to the oyster or briefly chilling it in the freezer can also help relax the muscle and facilitate easier shucking.
Safety Precautions
Protective Gear
Before attempting to shuck oysters, ensure you have the appropriate protective gear. Wear a cut-resistant glove on the hand holding the oyster to minimize the risk of cuts or puncture wounds. Alternatively, wrap the oyster in a clean towel to provide a secure grip and protect your hand.
Proper Knife Handling
Use a high-quality, dedicated oyster shucking knife with a sturdy blade and a pointed tip. Familiarize yourself with the knife’s design and handle it with care to avoid accidental slips or injuries. Always point the blade away from your body and exercise caution when inserting it into the oyster.
Secure Work Surface
Shucking oysters on a stable and level surface is essential for safety. Ensure your work area is clean and free of clutter to minimize distractions and reduce the risk of accidents. Consider using a non-slip cutting board or a specialized oyster-shucking mat to provide a secure surface for shucking.
Controlled Force
Avoid using excessive force when shucking oysters, as this can increase the risk of slipping and injuring yourself. Instead, apply steady, controlled pressure when inserting the knife into the oyster and prying open the shell. Take your time and work methodically to prevent accidents.
Proper Technique
Familiarize yourself with proper shucking techniques to minimize the risk of injury. Hold the oyster securely with your protected hand and insert the knife into the hinge at the pointed end of the shell. Use a gentle twisting motion to pry open the shell, taking care to avoid sudden movements that could lead to spills or injuries.
Awareness of Shell Fragments
Be vigilant for shell fragments or debris that may be present inside the oyster shell. Inspect the shucked oyster carefully before serving to ensure it is free of any unwanted particles that could pose a choking hazard or detract from the dining experience.
First Aid Preparedness
Despite taking precautions, accidents can still occur during the shucking process. Have a first aid kit readily available in case of minor cuts or injuries. Clean any wounds promptly with soap and water, apply antiseptic ointment, and cover with a sterile bandage if necessary. Seek medical attention for more severe injuries.
Key Takeaways on Shucking Oysters
Shucking oysters is an art worth mastering. By following this comprehensive step-by-step guide, you’ve acquired the skills necessary to shuck oysters like a pro. Whether you’re planning a seafood feast, impressing your guests, or simply craving a special treat, the satisfaction of shucking and savoring your own oysters is incomparable. So, go ahead and dive into the world of oyster shucking. Happy shucking and bon appétit!
Discover more from The Oyster Encyclopedia
Subscribe to get the latest posts sent to your email.