
Shucking oysters shouldn’t be a band-aid hobby.
If you’ve ever slipped a knife and thought “that was way too close,” you already know what causes it. Almost every injury comes from the same few mistakes: the oyster moves, the knife isn’t seated, or your holding hand is sitting right in the blade’s path.
This guide is how I teach it in a kitchen. Not tricks. Not hacks. Just the chef method: set your station, lock the oyster, seat the tip, twist to pop, cut clean. No crushed shells. No gritty fragments. And no stabbing your palm because you tried to power through a stubborn hinge.
Chef Technique · Safety · Mastery
This guide is part of the Raw Bar Bible series—built for clean shucks, intact oysters, and zero hand injuries.
Enter the Raw Bar Bible →The 20-Second Safety Rules (Read This Before You Shuck)
- The oyster can’t move. Movement turns into panic pressure. Panic pressure turns into slips.
- The knife path can’t point at your hand. If it slips, it should miss you.
- Seat → twist → stop. Shucking is leverage, not stabbing.
- If you’re fighting it, reset. “Just one more push” is how people get hurt.
What You Need (Minimal Gear That Actually Prevents Cuts)
This isn’t gear porn. Each item below fixes a specific mistake that causes most shucking injuries.
-
1
A real oyster knife
A shucking knife is built to pry, not slice. It’s short, stiff, and made for leverage—so you can pop the hinge without the blade traveling forward into your hand.
Knife GuideChoosing the right oyster knife matters more than force. Use a purpose-built shucker, not a chef’s knife.
View the Best Oyster Knives of 2026 → -
2
A cut-resistant glove (recommended)
Wear it on the non-knife hand—the one holding the oyster. If you shuck regularly, this is the easiest safety upgrade you can make.
Glove GuideIf you want one “risk drops instantly” upgrade, it’s this. Protect the holding hand and keep the blade path harmless.
See Chef-Tested Cut-Resistant Gloves → -
3
A folded kitchen towel
This is your grip pad and your “oyster brake.” It keeps the shell from rotating, keeps your hands dry, and catches shell chips so you’re not picking fragments out with your fingers.
-
4
A stable board + a bowl for shells
Less clutter equals fewer mistakes. Keep the board stable, keep shells contained, and keep your hands from crossing over each other mid-shuck.
Set Up Your Station (Safety Starts Here)
- Put a damp towel under your cutting board so it can’t slide.
- Keep your shell bowl on your non-dominant side so you’re not crossing hands mid-shuck.
- Keep your knife down on the board when not in use—never loose at the counter edge.
- Dry hands matter. Wet hands and wet shells kill control.
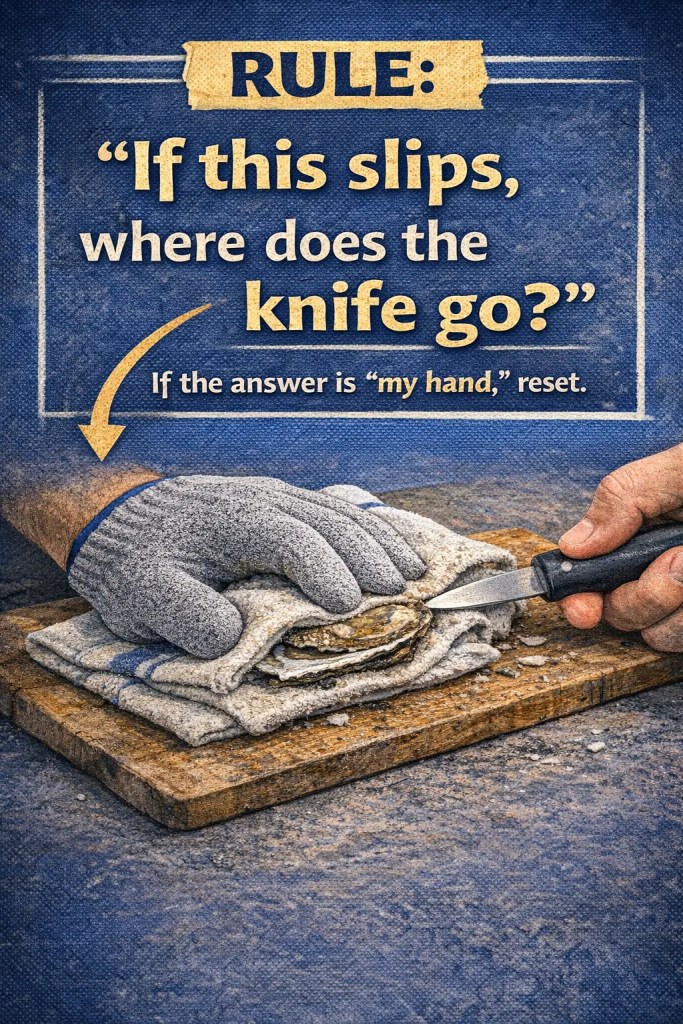
The Safe Hand Position (How to Hold an Oyster Without Getting Stabbed)
This is the biggest difference between a clean shuck and a hand injury.
Option A (Best): glove + towel
Put a cut-resistant glove on your non-dominant hand. Lay a folded towel over the oyster. Your palm presses down gently while your fingers cage the sides. Your hand stays behind the hinge line, not in front of it.
Option B (No glove): double towel
Fold a towel thick (4–6 layers). Wrap the oyster so your palm is never in front of the hinge. Keep your fingertips tucked behind the oyster’s “shoulders,” not out in front.
Rule: before you push or twist, ask yourself:
“If this slips, where does the knife go?”
If the answer is “my hand,” reset.
Step-by-Step: How to Shuck an Oyster Safely (Chef Method)
This is the chef method: controlled leverage, stable grip, and a knife path that never points at your hand. If anything feels unstable, reset the oyster and repeat the step—no rushing.
-
Work on a non-slip surface. Fold a towel into an “oyster cradle,” keep a bowl nearby for shells, and give yourself room to work.
If your board or towel slides even a little, stop and reset before the knife touches the shell.

-
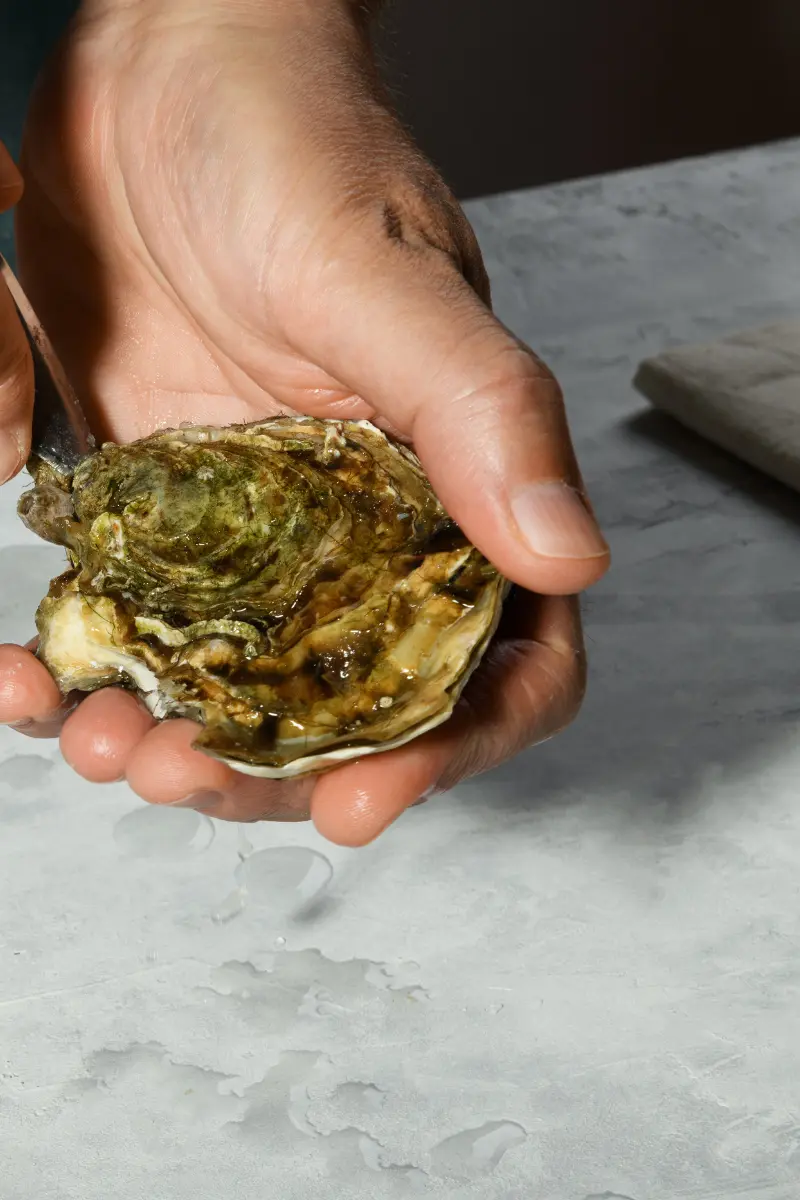
Rinse grit off the shell and orient the oyster so the hinge is accessible. Keep it low and supported in the towel—never floating in your hand.
Don’t shuck warm oysters. Cold shells grip better and slip less.
-
Use a cut-resistant glove or a thick towel. Your holding hand clamps the oyster into the towel cradle so the blade never has a clear path into your palm.
Rule: Before every push, ask yourself: “Where does the knife go if it slips?”
-
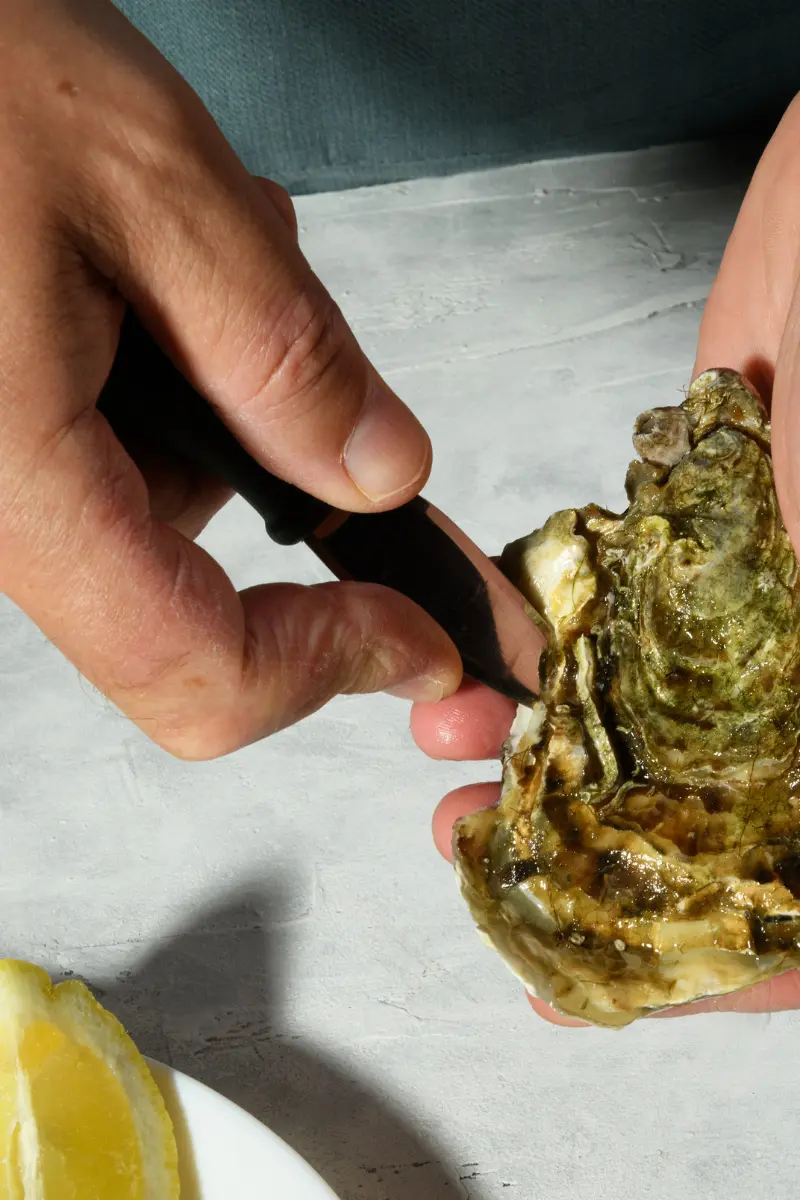
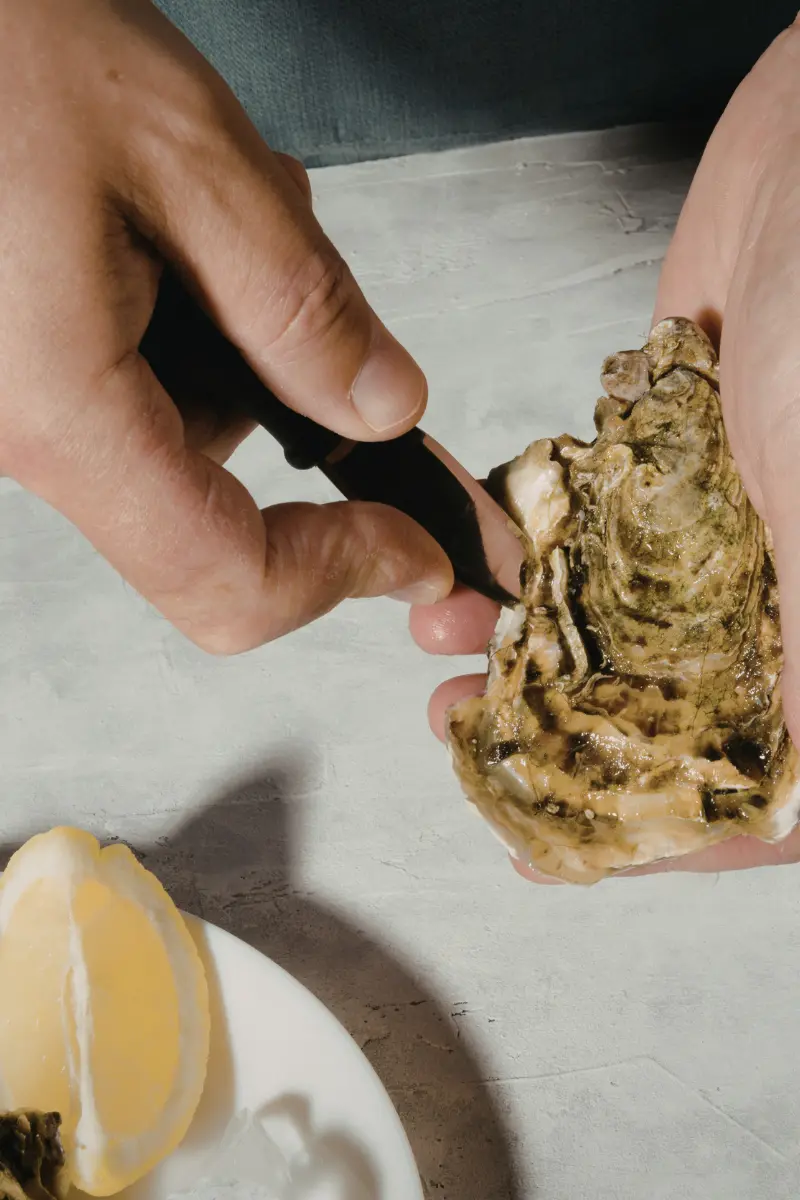
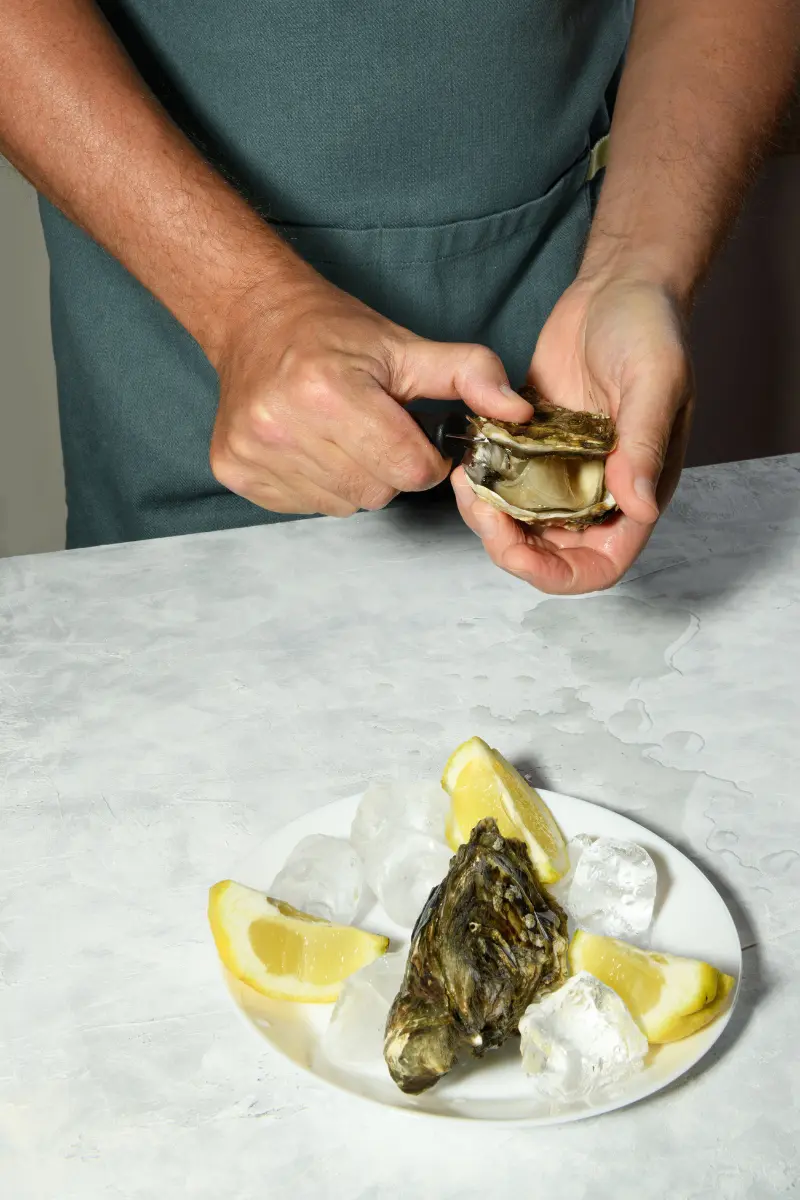
Feel for the hinge pocket. Insert only the tip of the knife and seat it with tiny, controlled pressure. This is leverage—not a stab.
The goal is an anchored tip: stable, not skating.
-
Once the tip is seated, twist the handle like turning a key until the shell pops. Keep the movement short and controlled.
Force is what creates slips.
-
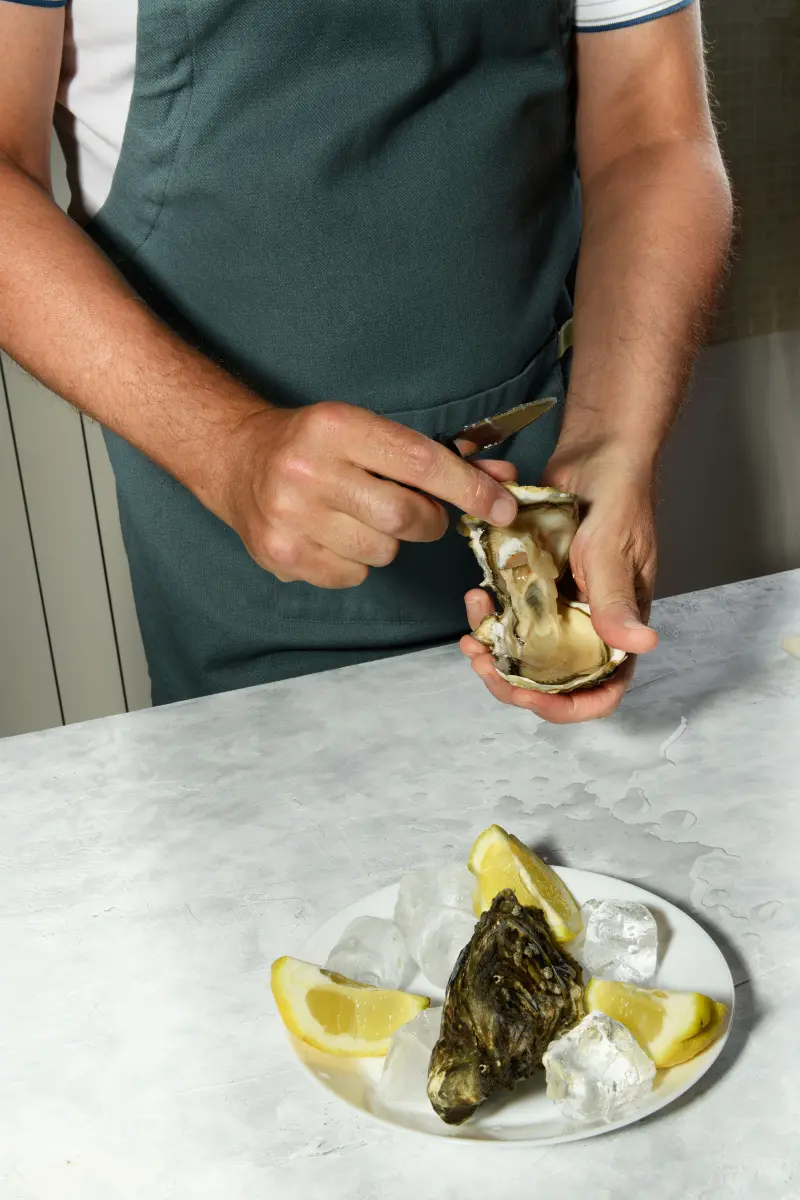
Lift the top shell gently and keep the oyster level to preserve the liquor. If you see shell chips, stop and remove them before moving on.
Shell fragments ruin more oysters than “bad flavor” ever will.
-
Run the blade flat along the shell to release the adductor cleanly. Do a quick smell and visual check, then serve on ice.
Serve-ready means:- Intact oyster
- Clean liquor
- No grit
- No shell
- No off smell
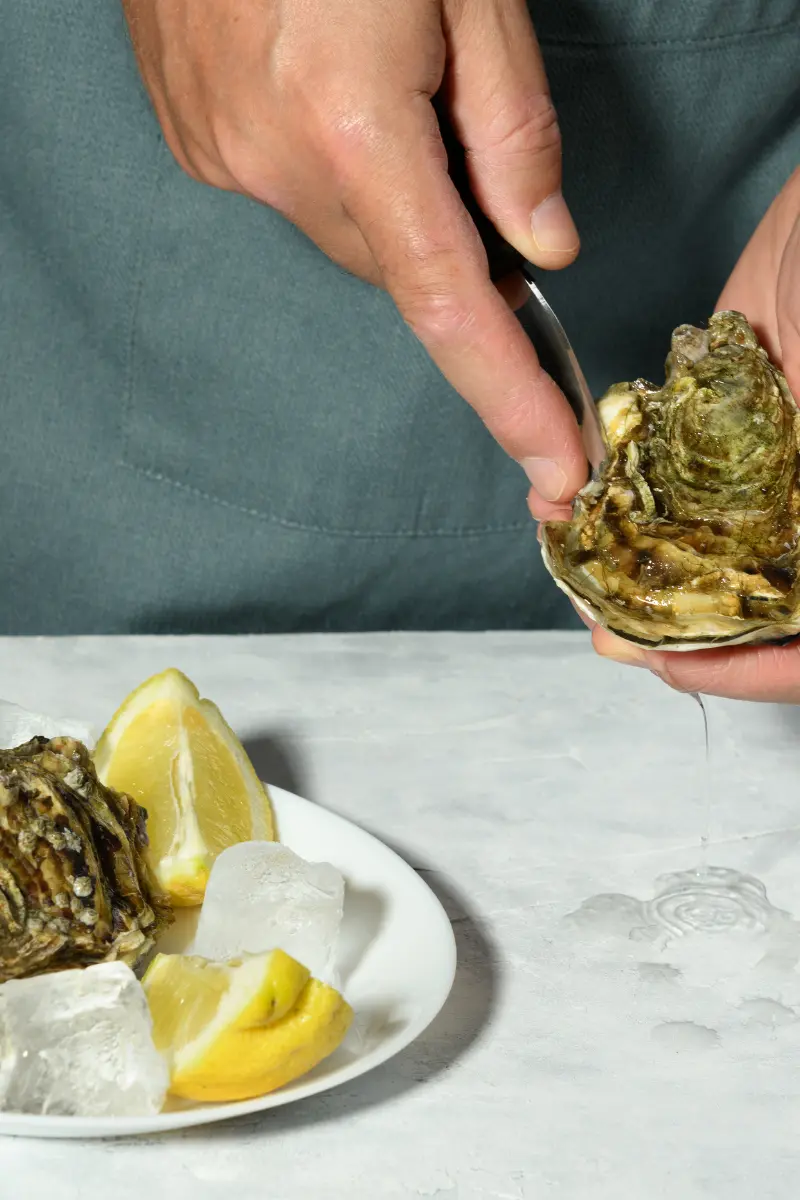
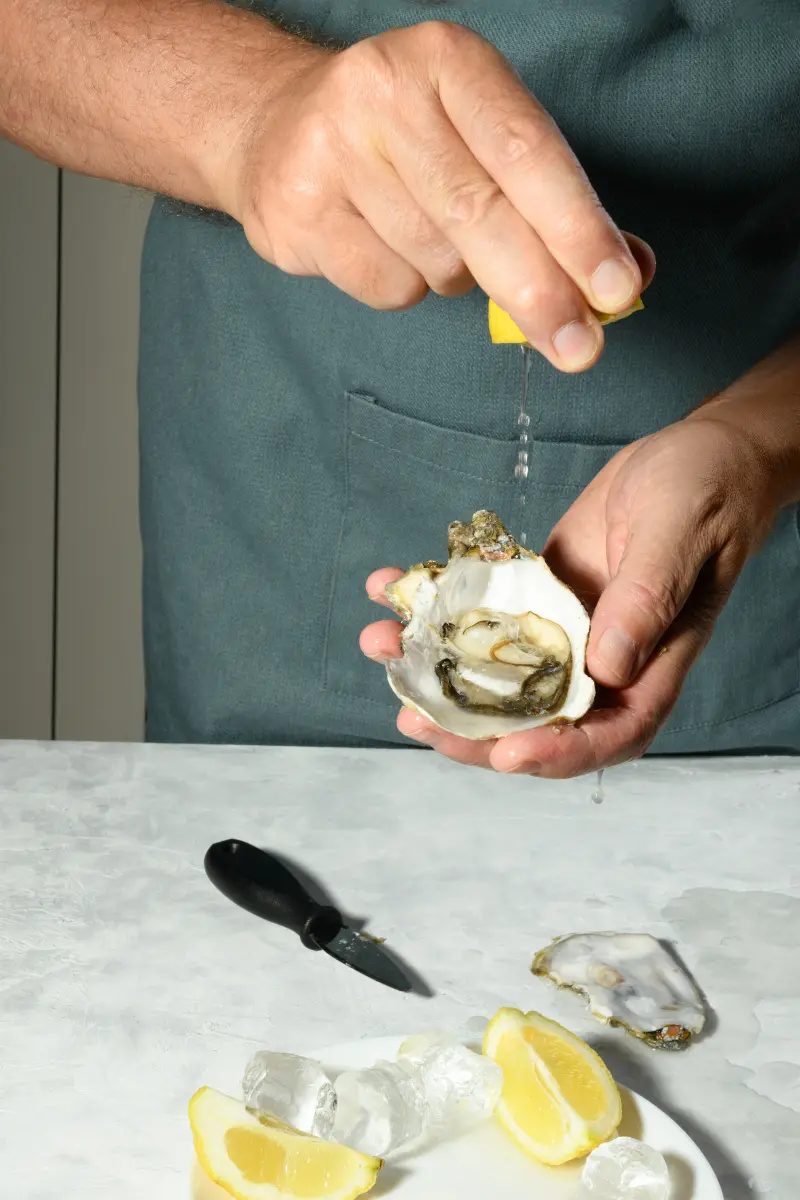
If an oyster smells sharply “off,” don’t serve it. Trust your nose.

When NOT to Shuck an Oyster
Don’t shuck an oyster if the shell is badly cracked, the oyster looks compromised, or it smells rotten or aggressively foul.
If it was stored warm or improperly, skip it.
Before You Shuck Another Oyster
Two guides I want you to have bookmarked. One keeps you from buying bad oysters. The other keeps your good oysters alive.
/* ========================================================= Raw Bar Bible — FAQ (TYPE SCALE MATCH) Paste AFTER existing rbb-faq styles ========================================================= */ .rbb-faq{ margin: 56px 0 64px; } .rbb-faq__title{ font-size: clamp(34px, 3vw, 42px); line-height: 1.1; font-weight: 1000; letter-spacing: -0.025em; margin-bottom: 28px; } .rbb-faq__item{ margin-bottom: 34px; padding-left: 22px; border-left-width: 5px; } .rbb-faq__q{ font-size: clamp(24px, 2vw, 28px); line-height: 1.25; font-weight: 950; letter-spacing: -0.01em; margin-bottom: 8px; } .rbb-faq__a{ font-size: clamp(20px, 1.6vw, 22px); line-height: 1.9; max-width: 980px; } .rbb-faq__link{ margin-top: 10px; } .rbb-faq__link a{ font-size: 19px; font-weight: 900; border-bottom-width: 4px; } /* Mobile refinement */ @media (max-width: 760px){ .rbb-faq__title{ font-size: 32px; } .rbb-faq__q{ font-size: 22px; } .rbb-faq__a{ font-size: 19px; } }
This guide is part of the Raw Bar Bible — chef-level technique, safety, and gear so you can shuck and serve oysters with confidence.
Discover more from The Oyster Encyclopedia
Subscribe to get the latest posts sent to your email.